Wedding websites come equipped with easy-to-use tools that save busy brides precious time. For example: digital RSVP tracking, pulling all of your gift registries into one place, and even the ability to email your entire bridal party or confirmed guests with any last-minute changes. Besides tackling those to-dos, you have the option of personalizing your site with your proposal story, photos of you and your fiancé throughout the years, and even blog posts about your journey in this crazy little world we call wedding planning. Despite these resources, most BG brides sign up for a wedding website and then don’t complete them, or are too overwhelmed to even start one—myself included.
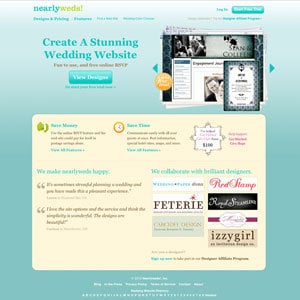
The best part is that they have 100+ gorgeous designs to choose from, inspired by real wedding invitations. Whether you’re tying the knot on a beach, hosting the reception at a botanical garden or leaning towards something more hipster-chic, there are plenty of options for every wedding style under the sun, from classic to quirky. My husband-to-be Jason and I settled on “Renaissance” after clicking (and swapping) designs until we landed on one that felt like us.
Follow this basic walk-through and check out my example to get started on creating your own wedding website—warning, it’s addictive.
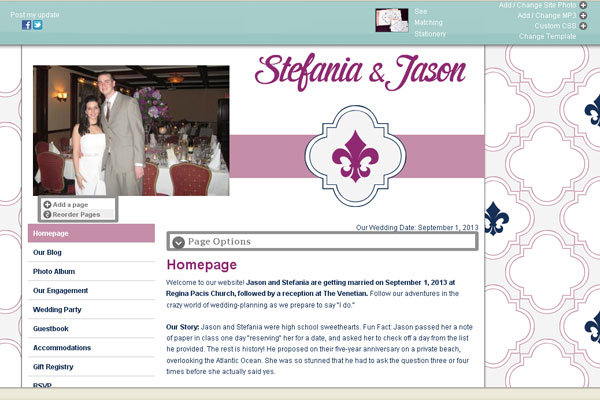
2. Our Blog: Click on “add an entry” and post about your experiences leading up to the big day. Not sure which topics to cover? Check out our blogs page for inspiration and remember the golden rule: Don’t post anything that could offend your MIL, ‘maids, or any other loved ones who mean well but make you want to elope sometimes.
3. Photo Album: Upload then-and-now pics for a sentimental approach, or snapshots from all of your dates and travels. Give readers a sense of your personalities—if you bonded over the Twilight series or your mutual love of pugs, find some way to incorporate them, too.
4. Wedding Party: List all of your bridesmaids and groomsmen, along with a short sentence or two about your relationship to them (e.g. is Mary your sister, college roomie, or coworker confidante?) so guests know who’s who. Brevity is key: don’t turn this into a best man’s speech-gone-wrong with a two-page term paper.
5. Guestbook: Visitors can click on the interactive map to “pin” their location and send you a secret message. This will track your wedding impact on the globe.
6. Accomodations: Include lodging info for guests who may want to party until the wee hours without having to drive back home that same night.
7. Gift Registry: Find your existing registries or start a new one online and Nearlyweds! will pull all of your presents into one master list. Link to your site on your bridal shower invite instead of having to include info cards.
8. RSVP: List all of your pre-wedding bashes here, including your bridal shower, bachelorette party, and more. Don’t worry about non-invitees—there’s an option to “hide” this page so that only you can see it.
9. Show Off Your Creation: Click on the "post my update" button to Facebook and Twitter. Bask in the amount of “Likes” and “How’d you do that?” comments.
More Home Decoration Tips: If you want to know more about home decoration tips, please refer to Bedding Talks Blog to get more ideas.

No comments:
Post a Comment